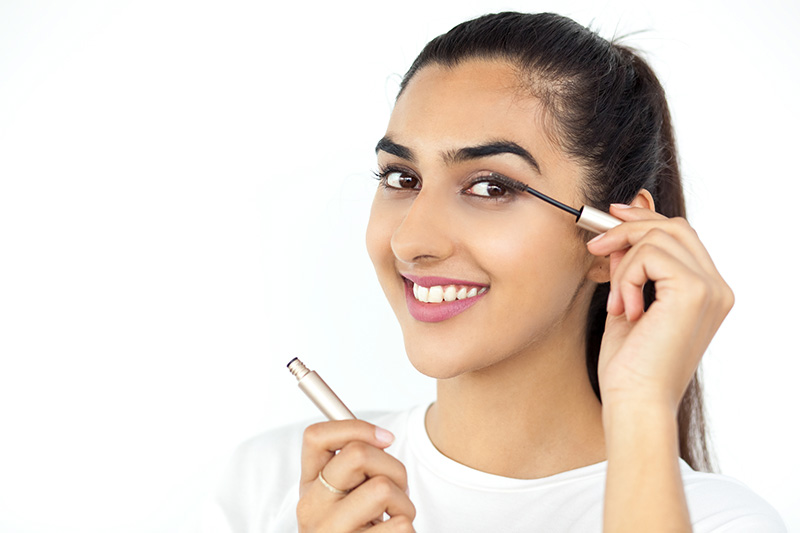
Whether you have teeny tiny lashes that require a microscope to even be visible or long unruly spider-leg types, you’ve probably spent as much time as I have trying to find some sort of decent solution that doesn’t leave you broke. Do I have the answer for you – falsies! False lashes are inexpensive, temporary, and, once you get the hang of it, very easy to apply.
Step 1: Select lashes
False lashes range from as low as $2.50 to as high as you can imagine. As a recovering beauty junkie, I can tell you with full confidence that there is absolutely no reason to purchase a super expensive pair. What you do need to consider, however, is your reason for wearing falsies as that will determine the best type to buy. There are 2 main categories of lashes: strips and individuals. Within these are multiple sub-categories as well. I recommend that you take the time to experiment with a variety of types before settling on your faves. I tend to go for individuals, specifically “regular flares,” for day-to-day because it helps control how dramatic I would like my look to be.
Step 2: Select Glue & Assemble Materials
As is the case with lashes, there are several varieties of glue: clear, white, black, waterproof, etc. I prefer to go for simple black glue for everyday wear and only choose the waterproof option for an occasion such as a wedding.
The materials you will need to have on-hand are: lashes, tweezers, glue, cue tips, makeup remover, lash curler, mascara, thin makeup brush, eyeliner
Step 2: Remove Lashes & Apply glue
For some reason, this step used to feel almost as intimidating as actually applying the lashes. After some practice (and a quick call to my makeup artist friends), I figured out that that best way to remove them from the package is to use tweezers. You can then apply the glue to the lash line of the falsies.
*Tip* Wait 20-30 seconds after applying glue otherwise lashes will be too “wet” to work with.
Step 3: Apply Lashes
Using tweezers (for individuals) or just your fingers (for strips), apply lashes to your lash line from the inner eye corner going out. The glue will still be tacky enough to adjust the positioning so you can remove and re-apply the lashes if you don’t get the positioning just right from the first try.
Using any thin makeup brush, apply pressure along lash to ensure that the glue sticks.
Step 4: Beautify!
Apply as much or as little eyeliner as your heart desires. Then, once enough time has passed and you feel that the lashes are securely attached, bust out that lash curler. Make sure to catch your lashes as well as the falsies to create a unified look. Apply mascara and…voilà, you’re done!
*Tip* Limit mascara applications to 1 coat to keep things clean and simple.
Stay tuned for more posts on falsies! #staylashy #stayglassy
